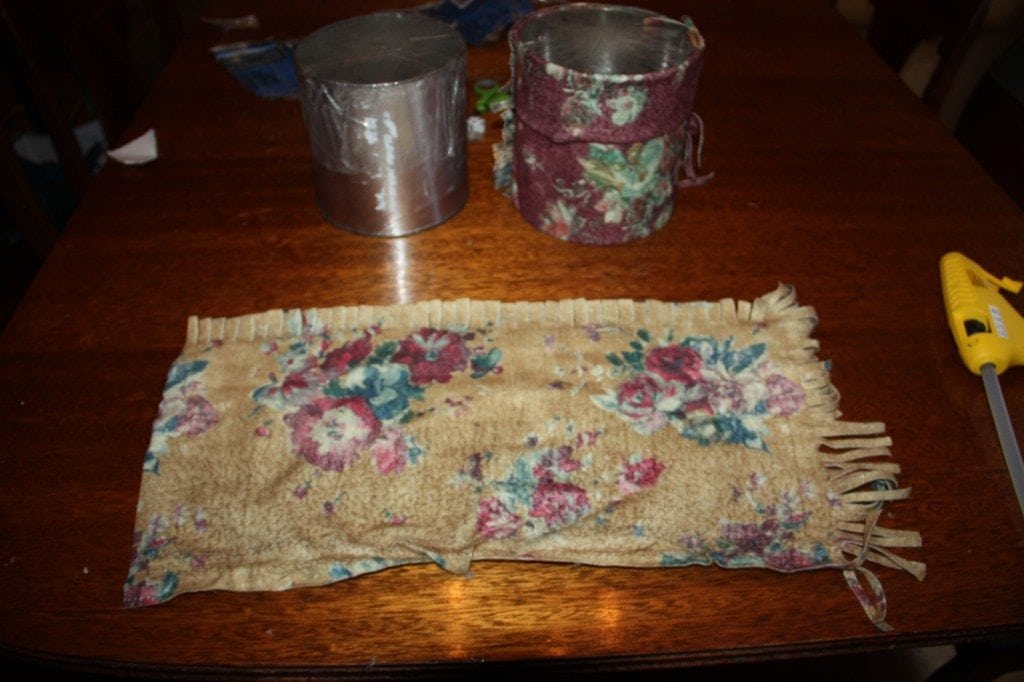
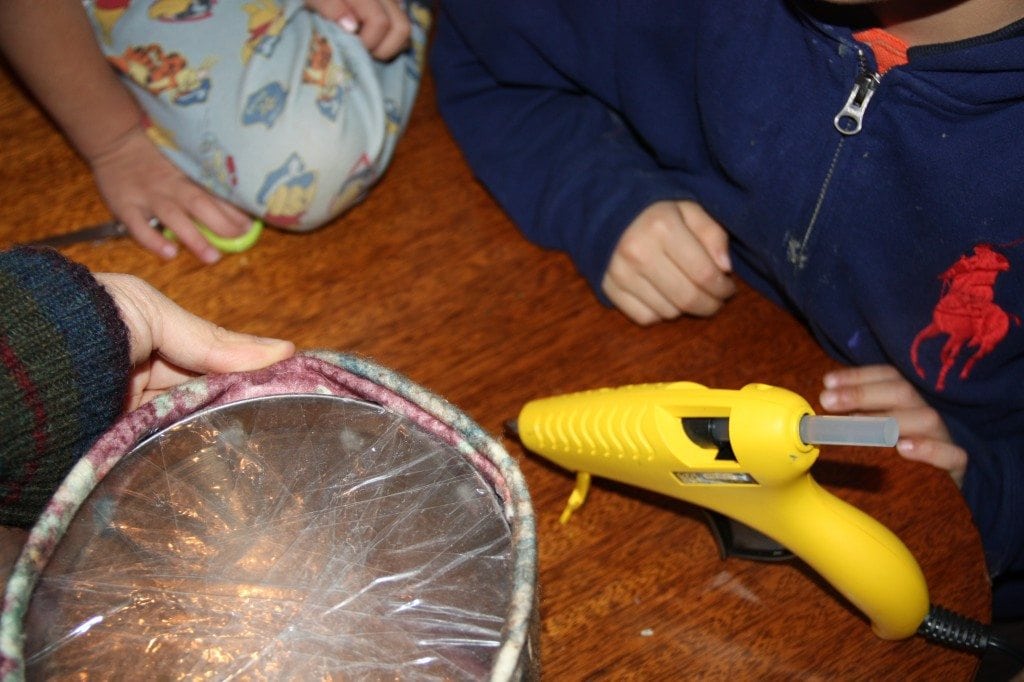
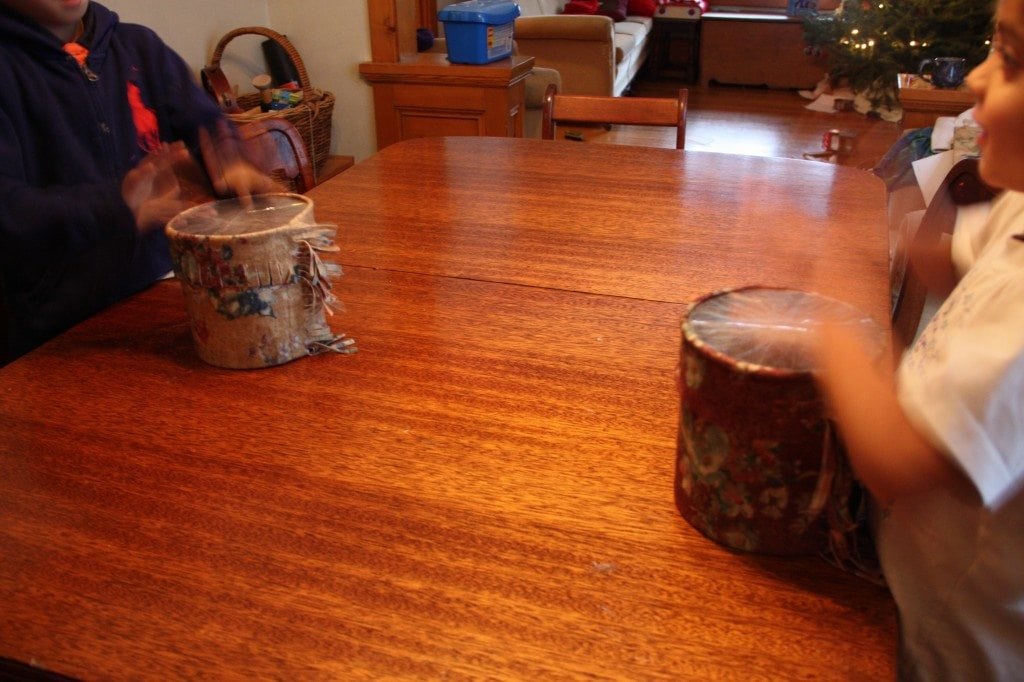
 Our kindergarten drums are in need of repair! For the families who have volunteered to help repair the drums, here is a tutorial on how to do it. This tutorial can also be used, with just a bit of modification, to make a new drum. It doesn’t take long, your children can help in the making, and at the end of it, you’ll have a simple and beautiful handmade instrument.
Materials
– a large coffee or other tin can
– a rectangular piece of thick fabric (we had fleece) long enough to cover the length of the can, and wide enough to cover the width of the can with at least a couple of inches extra on each end (you will need this extra material to create a fold at the top of the drum for a tidy edge, and to wrap over the bottom edge)
– a glue gun and glue sticks
– clear packing tape
Directions
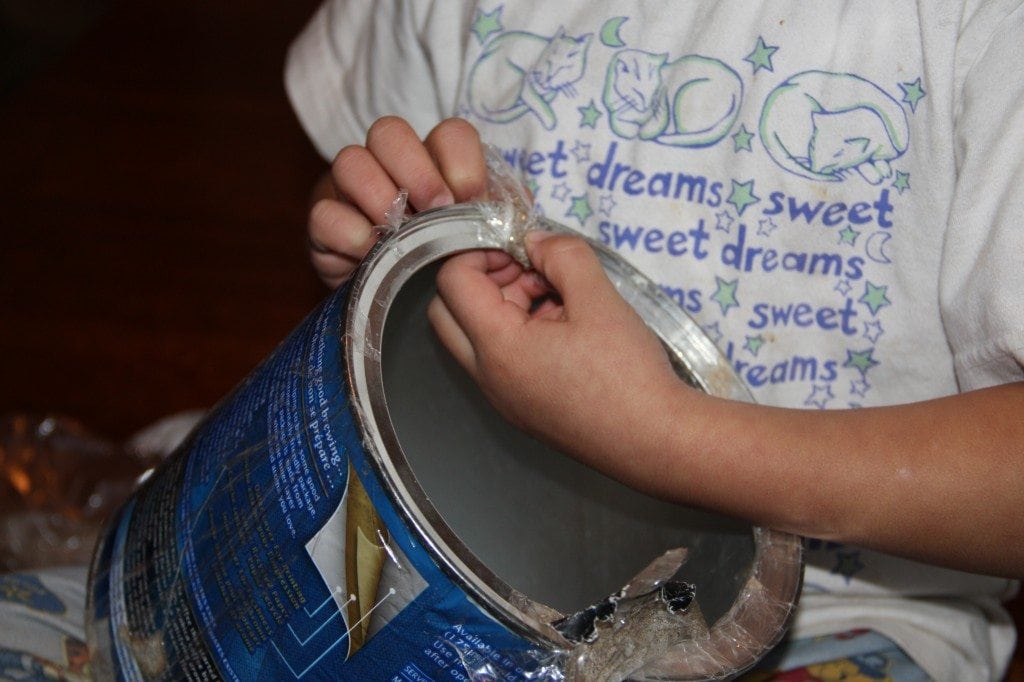
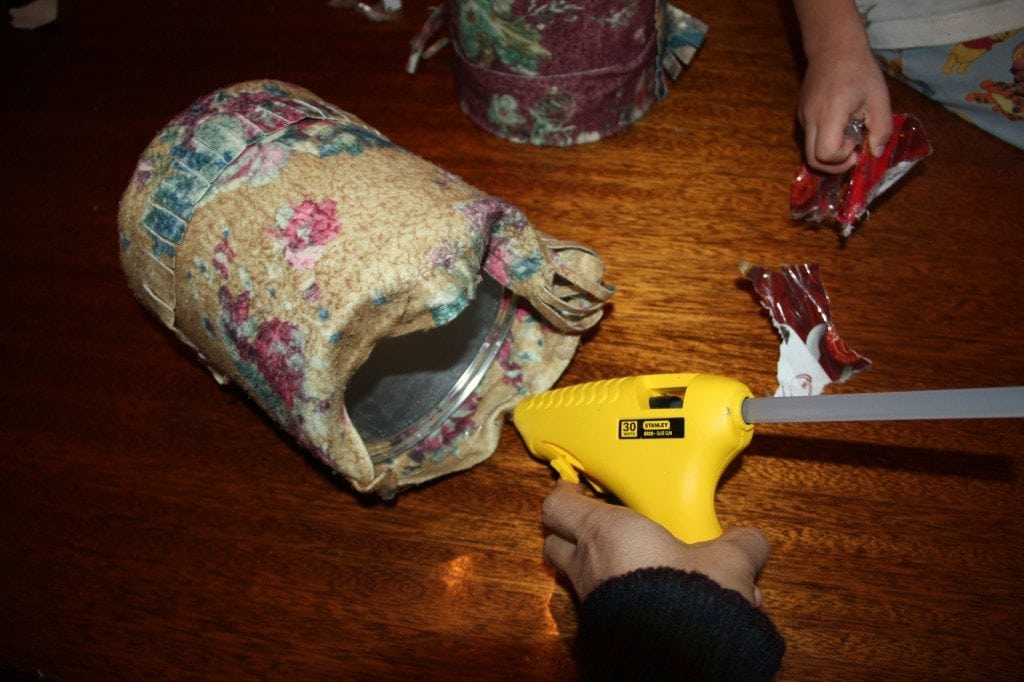
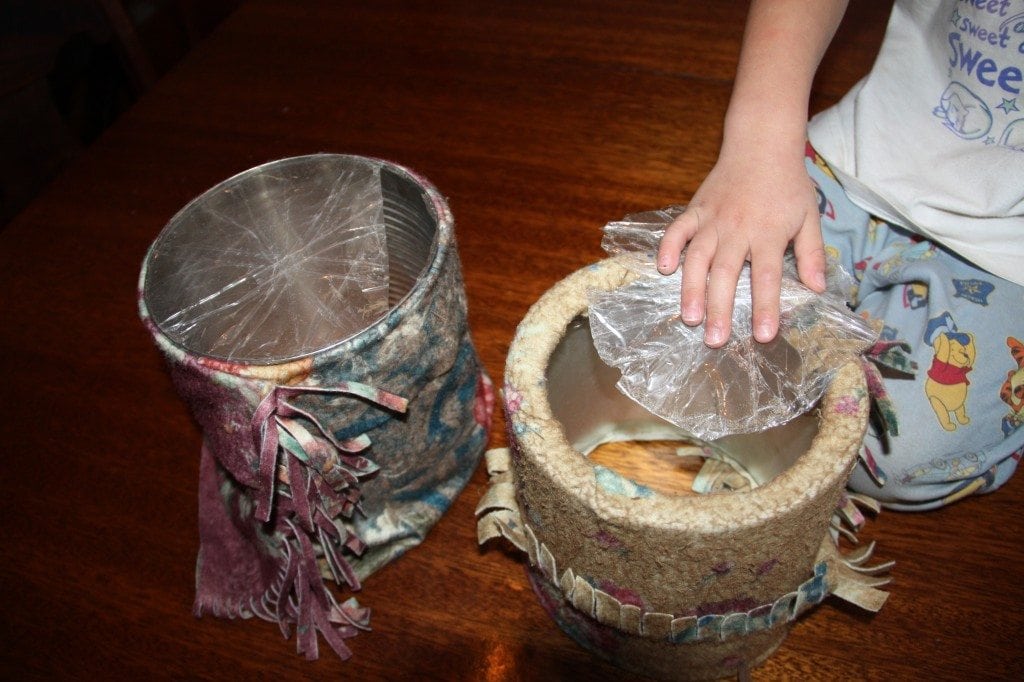
1. Peel off the fabric covering the drum, noting how it was first folded and glued to the drum.
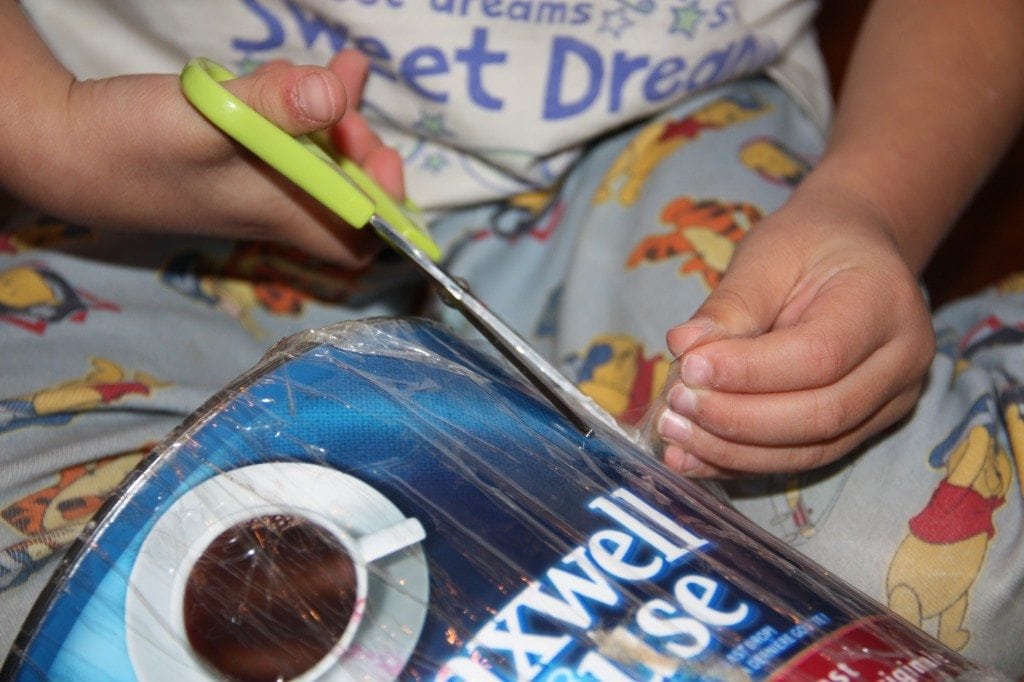
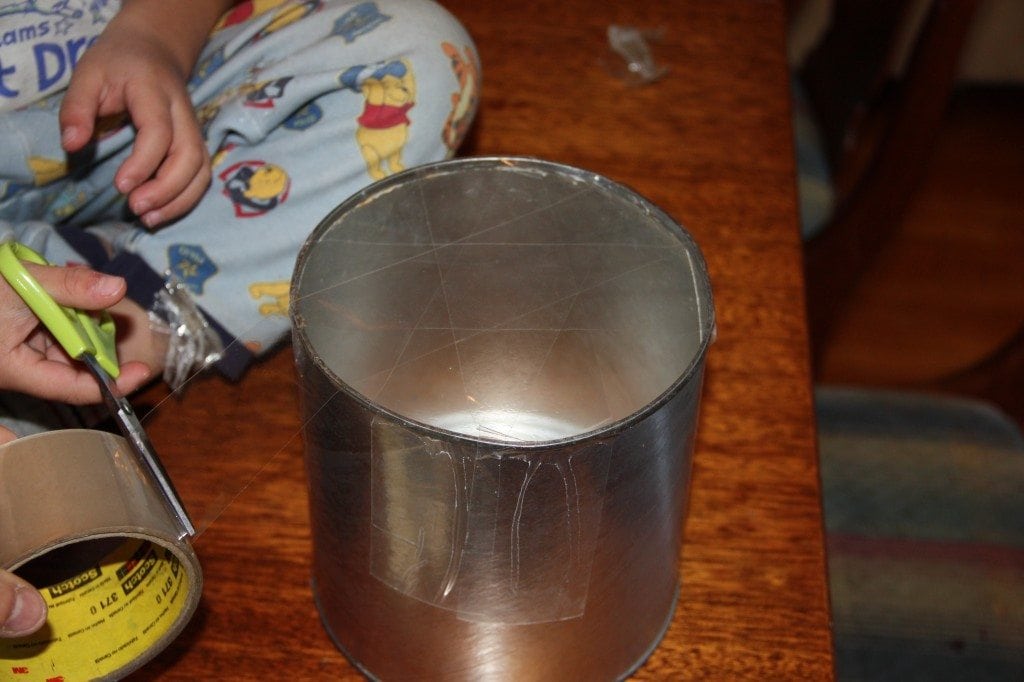
2. Remove any plastic tape (which is probably ripped) covering the surface of the drum.
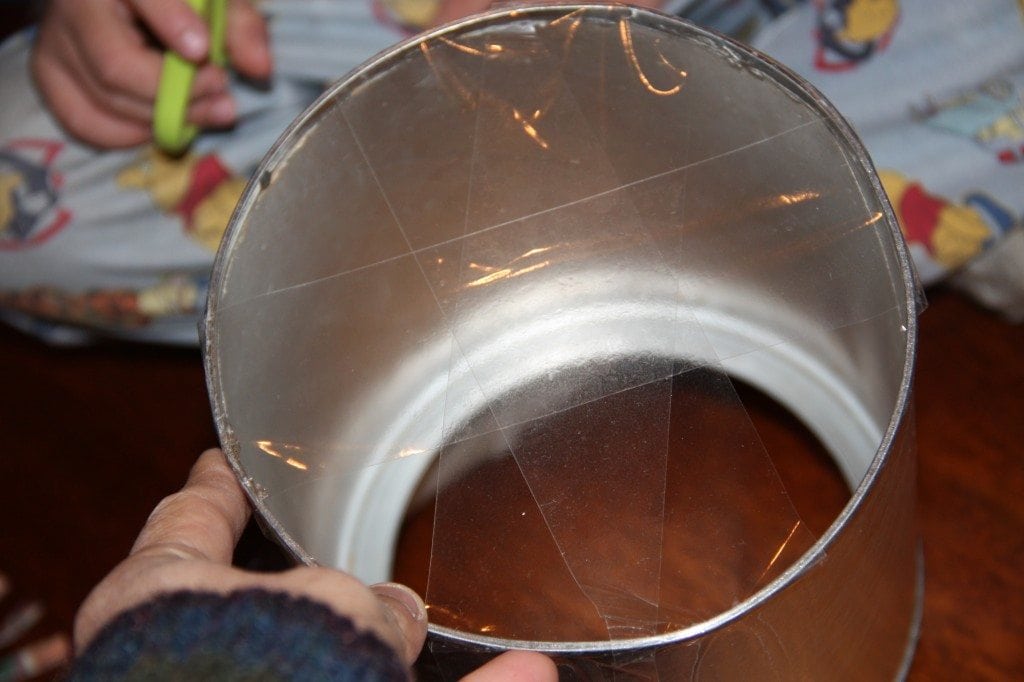
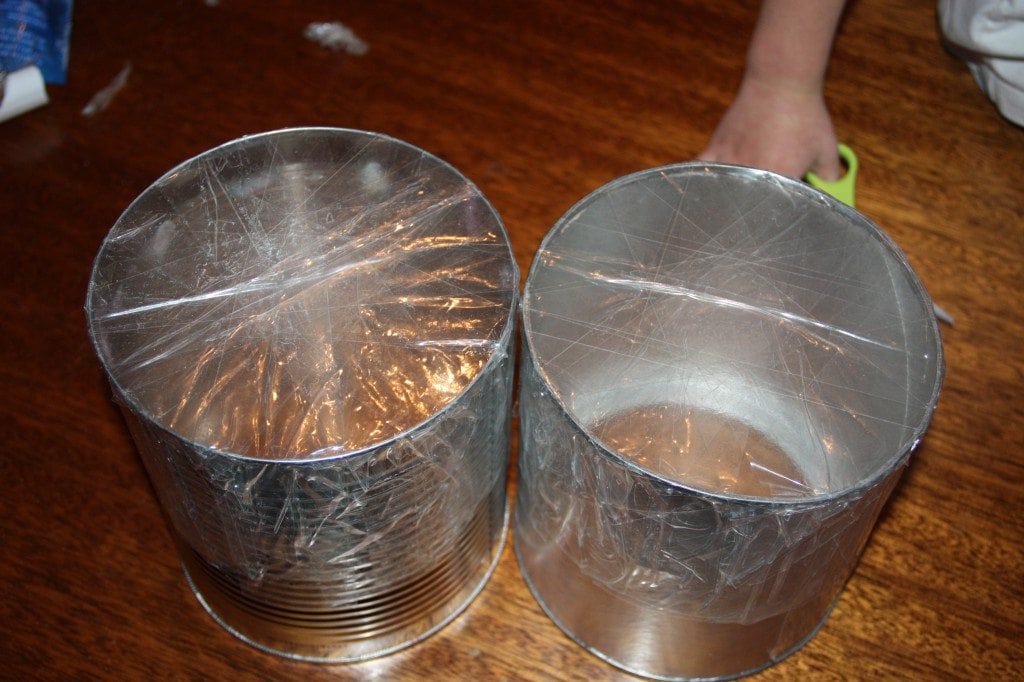
3. Re-tape the surface of the drum with long strips of the packing tape. The tape should reach at least half-way down either side of the drum. Tape this surface so that it is entirely covered with tape and there are no openings. Apply additional layers of tape to reinforce the surface of your drum. If one side of your can has a metal lip (like the one that’s visible in the first two photos under instruction 2), use the other side for the surface of your drum.
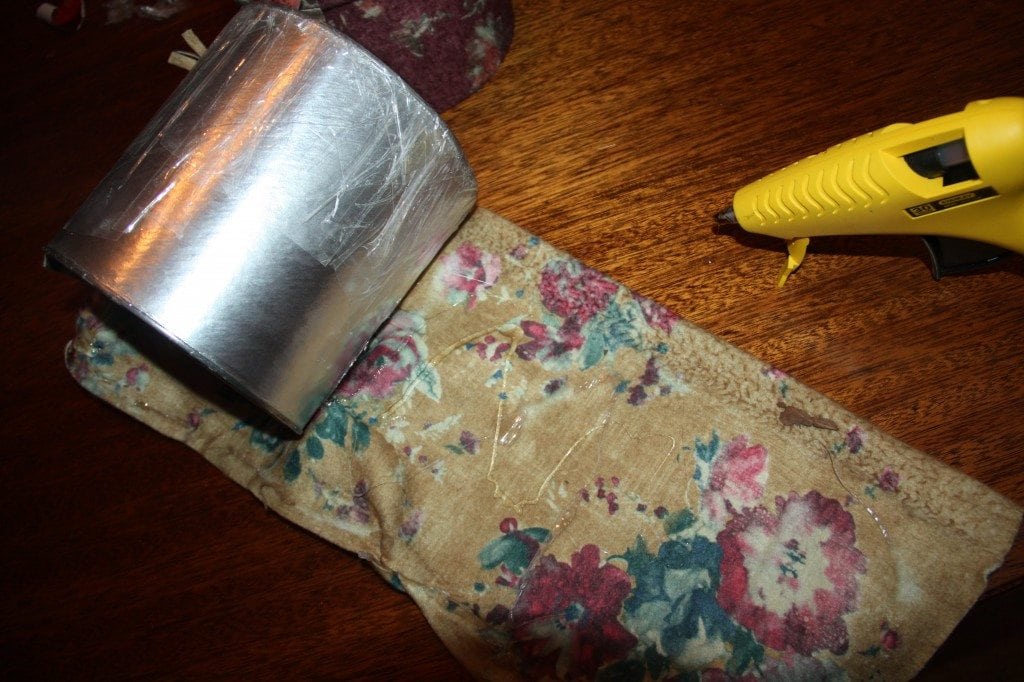
4. Using the glue gun, re-attach the fabric to the drum.

